Recover Lost Files after System Restore in Windows 11
Windows 11’s built-in recovery tool, System Restore, enables you to create backups of some system files and the Windows registry. The term “restore points” refers to these snapshots. By default, System Restore creates “restore points” once each day when it is activated. If a software or hardware installation on your system fails or any other issues arise, you can utilize these restore points to revert your system to a previous working condition without reinstalling the operating system.
It restores the system to the files and settings saved in the restore point and fixes the Windows environment. The data generated, and the modifications made to the system are erased when your system returns to its prior state, leading to a permanent loss of data. This article will discuss methods for recovering deleted data in Windows 11 after using System Restore.
Troubleshooting methods to Recover Lost Files After a System Restore in Windows 11
After conducting a system restore, you can recover lost data in one of two situations: Backup availability or No Backup available. Here are some ways to retrieve deleted files following a system restore.
- File recovery from the backup drive
- Utilize the Stellar Data Recovery Software
- By using the Windows File Recovery tool
Let’s proceed to the methods one by one:
Method 1: File recovery from the backup drive
Many users maintain copies of their system data on external storage devices such as HDD, SSD, USB drives, and SD cards as part of their data backup procedures. You can simply recover your lost data if you periodically back up your system data on an external media drive. Take these actions:
- At first, you need to connect the external storage media drive to your Windows 11 system.
- After that, search for the files that you want to retrieve.
- Once found, select them and paste them into the desired location on your system. Alternatively, you could drag & drop the files you want to recover.
If the above method didn’t help you recover the lost files after the system restore, you can straightaway move the next troubleshooting solution.
Method 2: Use Windows File Recovery Tool
Try recovering your lost files with Microsoft’s Windows File Recovery tool if you don’t have a backup. You can recover files that have been deleted from the local storage media drive with the aid of this command-line utility. All data types, including files, documents, images, etc., can be retrieved. The software functions in all typical data loss scenarios, including corrupting, formatting, and unintentional deletion.
The tool has three operating modes: Default, Segment, and Signature. NTFS hard discs can recover their data using the Default and Segment modes. Files from hard discs formatted in FAT, ex-FAT, and ReFS can be restored using Signature mode.
There are several restrictions with this software, though:
- Including the fact that you can’t easily examine its capabilities and manner of operation because it’s command-line software without a graphical user interface.
- It is difficult for non-technical users to restore specific file types in specific data loss situations without running multiple commands and syntaxes.
- Only versions of Windows 10, starting with version 2004, can run the app. Unfortunately, support for earlier Windows versions is not offered.
- Furthermore, the recovery’s outcomes could also be tainted or lacking.
If you’re still stuck and unable to recover deleted files, then you need to try your hands on a data recovery software that can help you recover your deleted or lost files without much trouble.
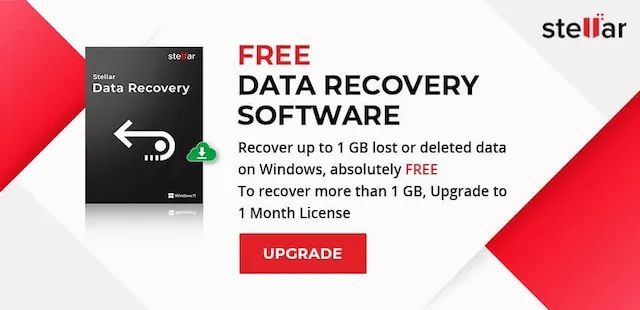
Method 3: Use Stellar Data Recovery Software
Using dependable data recovery software, such as Stellar Data Recovery Free Edition, can spare you the trouble of executing several commands and syntaxes. It is DIY software with an easy-to-use user interface. You can recover all types of data in common data loss scenarios, such as unintentional deletion, drive formatting, corruption, and malware infection. Even drives with BitLocker encryption can have their data restored. Additionally, following the system restoration, you can get back lost files. Here are the procedures for utilizing this software to restore files:
- First, you need to download, install, and launch Stellar Data Recovery Free Edition on your Windows computer.
- After that, click on “Everything” or the data type you wish to recover.
- Then, click on Next from the “Select What to Recover” screen.
- From the options that are displayed on your screen, select the location where you lost your files and then click Scan.
- The scanning operation will start. When the scanning is complete, the files will appear on the screen.
- Click “Recover” after selecting the files you wish to recover.
- To select a different location to save the files, click Browse. To store the recoverable files, always use an external storage media drive.
- To store them, click Start Saving at the end.
Note: With the free edition of Stellar Windows data recovery software, you can recover up to 1 GB of data without any hassle.
To Wrap Up
Although using System Restore to repair system issues can result in irreversible data loss. But if you have a backup, it would be very simple for you to recover the deleted files. However, if you don’t have a backup, you can utilize data recovery software like Stellar Data Recovery Free Edition or Microsoft’s Windows File Recovery program.
Stellar Data Recovery Free Edition can recover data in just a few steps. However, Windows File Recovery Tool requires you to execute numerous syntaxes and commands. It is compatible with Windows 7, 8, 8.1, 10, and 11 systems for recovery. You can examine both programs and select the one that best meets your needs for data recovery.

Comments